Acu-Rite Solutions
Acu-Rite Solutions

Useful digital readout terminology everyone should know

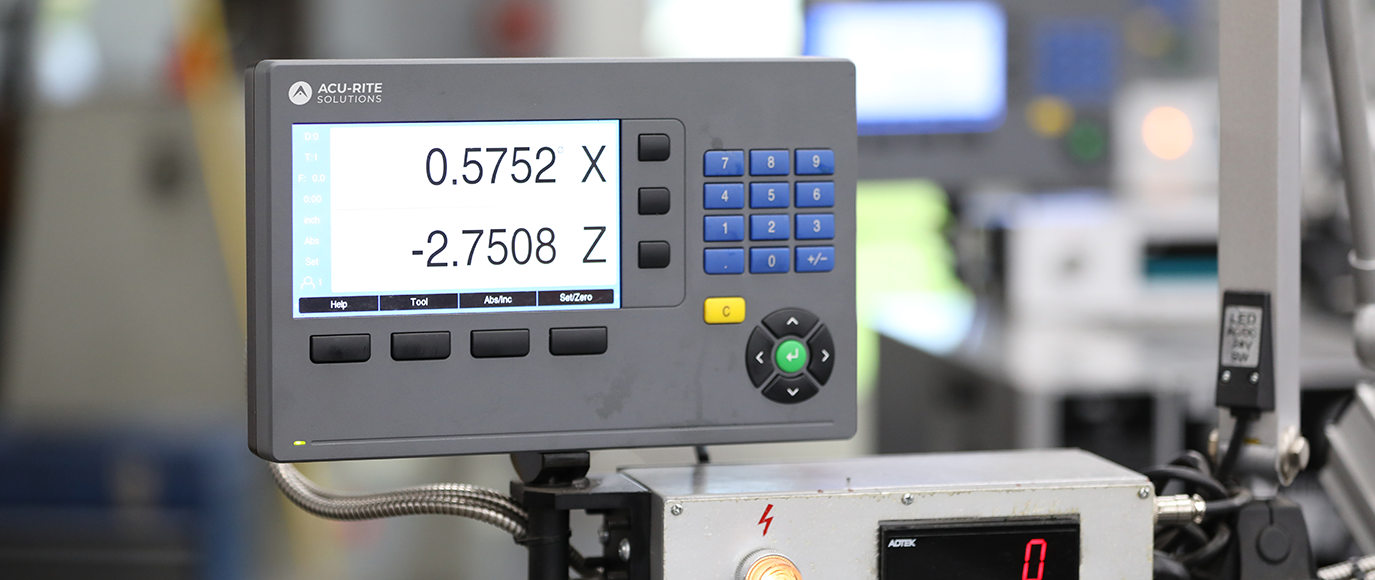
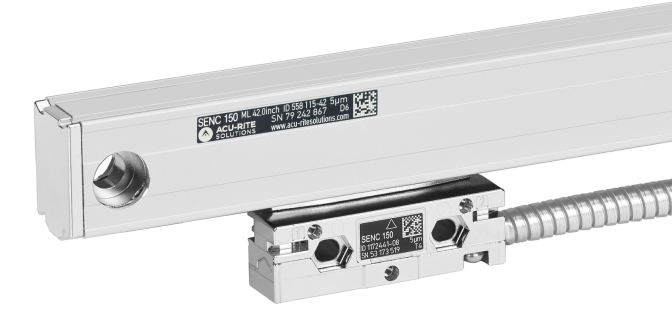
Each specialty or area of the metalworking world has its own terminology—its lingo. Sometimes words can even mean something a little different depending on the context. For example, we know what “precision” means, but in the realm of digital readouts (DROs), “precision” may be defined as the closeness, or tolerance, of agreement among repeated measurements of the same characteristic, by the same method, under the same condition. Let’s look at a few more terms from the DRO world that are good to know in the context of machine tools and readouts. Reference mark This is a pattern on the glass scale that is sensed by the reader head and is used for the Position-Trac™ feature or to quickly reset the readout system to zero. Repeatability Repeatability is the ability of the scale to return to an identified position within the specified tolerance. A repeatable scale is one that begins at zero on both an indicator and readout system; the table or tool is moved away from zero on both the indicator and readout system; when the table or tool is returned, both the indicator and readout system should again read zero. If this operation can be performed numerous times within a specified tolerance, the readout system and machine are judged to be repeatable. Scale assembly Acu-Rite Solutions scale assemblies consist of a glass scale enclosed in aluminum housing with sealed, die-cast metal end caps. To enhance glass scale durability, it is further protected from the environment by a recessed highly chemical-resistant, interlocking lip seal. Reader head Part of the DRO system’s encoder is a photo-electric device that converts the line pattern on the glass scale to a digital signal. The signal is the input the readout uses to display tool/workpiece position. Zero reference This is the point selected on or near the workpiece from which positioning is started, or in some cases, referenced for the entire machining operation. Zero reset is automatic or manual zeroing of the measurement (or count) displayed on the DRO. (Another term for reset.) Quadrature A sine or square wave signal whose phase differs by 90° [...]

2024-09-12T15:59:14+00:00

8 tips for getting started with digital readouts

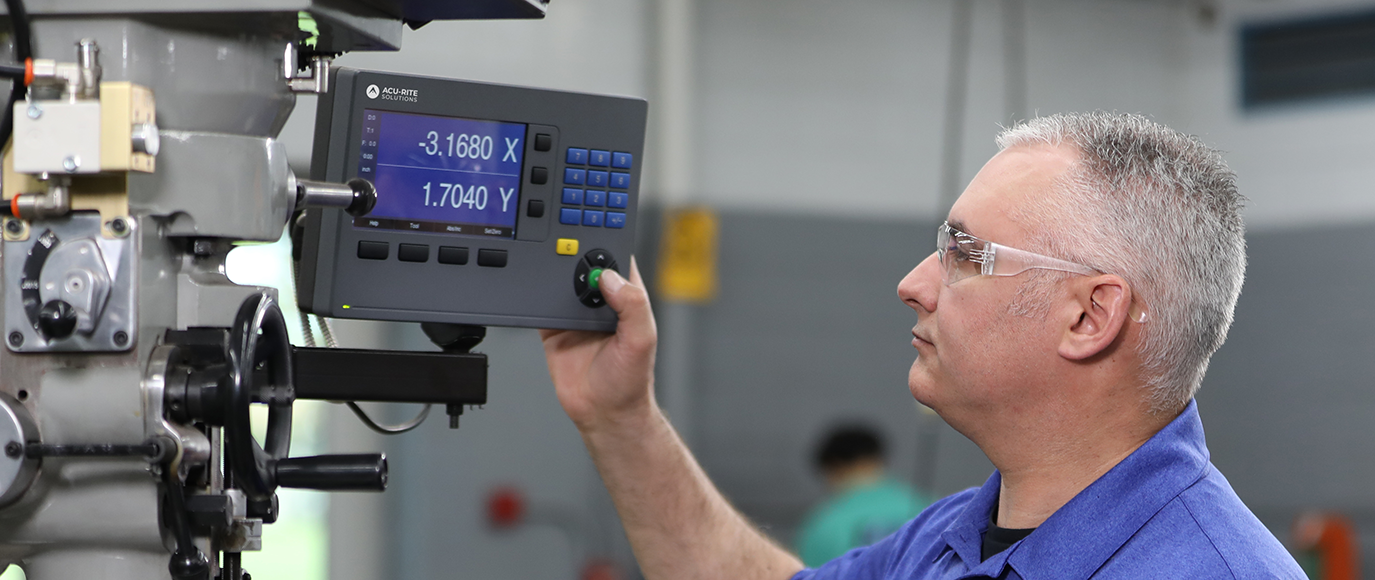
A digital readout (DRO) can bring a lot to a machine shop. Just to name two of the biggest perks, they make life easier on operators and boost the efficiency of a variety of machine tools. DROs are popular upgrades for knee mills, vertical boring mills, horizontal/vertical mills, horizontal/vertical lathes, surface grinders and EDMs. To help get you started on the right foot, we’ve collected some of our top tips for selecting, installing and using DROs. Turn to video for help YouTube and Vimeo offer a wealth of knowledge on different readouts, scales and machines. You’ll find troubleshooting and quick how-tos. Don’t forget about your supplier as a resource, either. We offer a variety of instructional videos for our DROs on everything from updating software to reversing direction. Accuracy, repeatability, and resolution Knowing the subtle distinction between accuracy, repeatability and resolution will help ensure you get a DRO that can perform the tasks you need. Put simply, accuracy is how close a measurement is to the true value, repeatability is how well a system repeats an outcome and resolution is the smallest increment a system can display. Incremental vs. absolute positioning Most new DROs offer the option, or different modes, to choose between incremental and absolute positioning. Then again, you may not need one or the other. Incremental (point-to-point) positioning is done from a displayed preset dimension to zero, or from zero to the dimension, then the display is reset to zero. Absolute positioning provides a unique location or reading at all times. Another perk of absolute positioning is that it allows rapid recovery of position once power has been restored to the system after shutdown or accidental loss of power. Measure carefully A common error when selecting scales to pair with a DRO is measuring the machine’s travels wrong. Remember, table size and travel are not the same. Travel lengths should account for things like the dovetail, knee, stops and any extra clearance needed for the reader head to avoid collisions. Always measure hard stop to hard stop. Have tools handy Keep in mind, that mounting [...]

2024-09-12T15:54:07+00:00

How to find the right DRO for your lathe

Digital readouts (DROs) are a great way to maximize new lathe’s efficiency or turn a cumbersome manual machine into a thriving profit center again. The DRO essentially translates the direction, distance and location into an easily readable display. In the case of a lathe, there are typically two axes to account for, the X and Z. DROs make lathes fundamentally simpler to use, which, in turn, improves productivity and raises the quality of machined parts. They help prevent common errors such as misreading the hand wheel dials or losing count of rotations requiring less energy-sapping wheel cranking and wasting less time. The right DRO also helps account for backlash (less important on a lathe) and inaccuracies that are often caused by the standard lead screws on most manual machines. Choosing the right feedback for lathe DROs The readout/interface itself pairs with feedback devices installed directly on the lathe. There is the option to use a rotary encoder on the hand wheel, but we don’t really consider that a DRO. Adding feedback to the handwheel measures turns of the hand wheels, and not the actual positions of the cross slide or carriage. Unless the rotary option is built specifically for the machine, you won’t know exactly where the cross slide and carriage are. Differences between glass, inductive and magnetic DRO scales Scales act as the measuring standard on the machine. A scanning head moves along with the machine, reads and transmits positioning from the scale to the readout. There are three types of scales commonly used on lathes: glass, inductive and magnetic. With glass scales, light is shot through lines with different levels of opaqueness. On the other side of the scale a scanning head reads the changes in light. These are extremely accurate and available in a wide range of resolutions. The trade-off is that they have a higher risk of contamination, since their light is so sensitive is sensitive to distortions in the glass. Instead of light, which requires a constantly clean line of sight, inductive encoders detect changes in capacitance-reactance and translates them into motion measurements. Inductive scales [...]

2024-07-16T16:45:47+00:00

The importance of a machine’s true travels and other tips for mounting linear encoders

Rising cost pressure is driving a trend toward dynamic machine tools that produce parts economically with very high accuracy, even in small batches. As a result, the share of linear axes with direct drive is steadily increasing in the machine tool sector. This has been driving the continuously increasing demands for accurate measuring technology and solid signal quality. This puts shops that are unable to invest in capital equipment at the moment in a tricky position: How do we keep up if we can’t add machinery? One of best options is to upgrade the linear encoders on an existing machine tool. And when paired with the right digital readout (DRO), a machine can be brought back from the brink of the scrap yard. Whether using a DRO or not, proper mounting of the encoder to the machine axes is critical to realizing return on investment. When it comes to mounting a new encoder scale on a machine, we find one of the steps customers have the most trouble with is measuring the proper travels. It sounds simple, and it should be. But, if it’s done wrong, replacing a damaged scale can cost of thousands and render a machine inoperable. Remember: The length of the machine table is not the same as the true travel, or the best scale. Always measure from hard-stop to hard-stop, then choose the right size encoder scale. We hear it all the time, “I have a 42-inch table, I need a 42-inch scale.” In reality, the travel is likely closer to something like 32 inches. If we were to send this customer a 42-inch scale, they would quickly find that it hangs off the end of the table and will likely cover coolant drain holes. If the scale is too short, the sensor will run beyond the end of the scale and damage it. Let’s look at one scenario. Some lathes have a tailstock on the lathe itself along with a steady rest. When you remove those, the true travel is revealed to be more than when those items are attached. If maintenance comes to service [...]

2024-07-16T16:22:45+00:00

The easiest way to install a DRO system on a machine

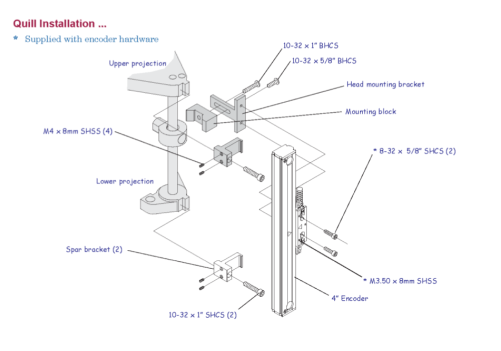
If you’ve ever retrofitted a Bridgeport, with a new digital readout (DRO) system, you know the care it requires. But, you probably also realize the value a DRO paired with a capable encoder can add to a manual or legacy mill, lathe or grinder; adding a precision encoder and readout dramatically increases the speed of processes and improves the chances of getting parts done right the first time. However, an issue often arises when it comes to installation. While nearly every machine ever built could benefit from a DRO, nearly every machine also has different bolt hole patters, coolant drains, travels, the list goes on and on. In most cases, this means the addition of a DRO will require careful measuring and the tapping and/or drilling of some sort of universal, generic bracket. This can be painstaking—and again, if you have different brands or types of machines, you’ll have to modify brackets for each. The easiest way to install a DRO system on a machine is to use custom brackets. This can save upwards of an hour for each machine being upgraded or retrofitted. We pride ourselves on not only setting the standard for DRO system quality and performance, but also our bracketing. We make custom DRO and encoder bracketing kits for more than 100 different machine makes and models, from manual mills to lathes. No measuring. No drilling. Everything lines up flush and fast. Step-by-step instructions guide you through the process of installation using hand-picked components for your specific machine. It’s easier than putting a piece of furniture together from the department store. Here is a sample instruction page for installing an encoder on a Bridgeport Series 1: This simple custom process makes realizing ROI faster and easier. How fast, you ask? Use our simple ROI calculator tool to find out in just a few clicks. Or, if you’re still a little unsure about how to find more efficiency with a DRO, check out our Ultimate Guide to DROs.

2024-07-15T21:56:43+00:00
Go to Top